Labels

Showing posts with label DIY. Show all posts

Wednesday, December 11, 2013

Pinterest Fail


I love Pinterest! It's my best friend. And the best place ever for ideas for the girls that I nanny. From projects, to food ideas, to time out solutions. 

Speaking of time out solutions..... When your 3 1/2 and you think you are the ruler of all.... Especially over your younger sister it tends to lead to a fair amount of time outs or breaks to cool off. So insert Pinterest. Glitter time out bottle. 

We had the perfect water bottle. So I grabbed the girls and off to target we went for the supplies.  
Goo Gone to get all the sticky crap off the bottle from the label. 

Next- a bottle of colored glitter glue, a bottle of loose glitter and warm tap water. Fill your bottle about 3/4 full with warm tap water, add glitter glue and glitter and give a good shake! Once it settles and you see how long it takes to settle you can either add more gel glue if it settles to quick or a bit more warm water if it's taking forever.  And super glue the cap shut.... We all know why. 
So finished product! It was taking about 4 minutes to settle which was perfect! I was so excited!! 

And then...... It sat over the weekend..... 
And it all settled into the bottom and stayed there.... 
PINTEREST FAIL

Oh well you win some and you lose some. 

~Erin


Saturday, November 30, 2013

Wedding Pillows

Did someone say Pinterst?!? Wedding planning..... Pinterest is your best friend and your biggest enemy all at the same time. Did someone say DIY projects galore!!!???

Between my MOH, bridesmaids and friends I think we have found enough projects to keep us busy until 10 years past my wedding. Not to say that I don't LOVE every single thing they send me, because truly I do and they know me to a T. But really who has the time, patience or money to make all of the said projects?!?!?

However, while scouring the Internet for engagement photo ideas I came across a great idea of pillows that have your wedding date on them.

So needless to say I of course ran out to HomeGoods to find a burlap pillows. My first thought was to make 3 pillows like the bottom right picture.  Of course I couldn't find the perfect pillows even after scouring many different stores. So change of plans and more Pinterest I found the middle picture and the perfect pillow at good ol' HomeGoods. A girl's best friend! So off to the craft store I went. 2 craft stores later I still haven't found the perfect sized numbers. REALLY?!?! You are a craft store how do you not carry different sized numbers and in different fonts. Moving on... I'll go home and get out my Cricut and print out my own. And problem 2,510 has now been shoved in my face... my Cricut that is less then a year old won't work!!!!! Crisis mode is now in full effect.  Really this project wasn't supposed to take days. (And the Cricut is still sitting on the shelf waiting to be plugged in and hopefully fixed a few months after said pictures were taken. Oops)

So back to problem solving mode. Later that night while out on a "date" to Fleet Farm... really when did dates to Fleet Farm, Home Depot, Gander Mountain and Cabela's become my new normal!??! Need to fix this stat... Ok off that rant! So the boy is off looking at some thing or another for hunting and I am off trying to find what I can come up with in the numbers department... Then it hit me!! Plastic house numbers! They are the perfect size and with a bit of flare! 
So here is said pillow front and back. I then took the insert out and placed a few ads on the inside so the paint wouldn't bleed through.  Grabbed a pencil, my house numbers, a few paint brushes and my black acrylic paint and I got to work. 


The first pictures is really hard to tell but it has the numbers traced on by pencil, the second is after painting and the third is the finished product! 

And for your viewing pleasure here are a few of our engagement pictures!! (A huge shout out to our friend Kimmie who took our pictures)


XO,
Erin

Sunday, October 6, 2013

Gel Manicure Extender

I recently ran into a situation I feel like many people do these days. What do you when your gel mani needs a fill and your appt isn't for another week? Do you cave and go early and get a polish change? Maybe. This time around not going to work. My brother gets married this weekend and my appt is on Friday.

So like any girl I hop on Pinterst to see what my options are.  There are plenty of options on how to do an at home gel mani... not what I'm looking for. Then I came across the holy grail! Glitter nail polish.

So here is the before:


So I ran to my local Walgreens and after looking around I choose Essie " Set in Stones"


So here is the after. For a quick fix I think it looks fine. Because of how thick the glitter is I used 2 layers of top coat so my nails were more even and smooth. After looking around some more I came across a glitter polish I want to try next time. It was Sally Hanson Gem Crush which has plenty of glitter but its smaller.

So here is to the next time!

xo,
Erin

Thursday, May 16, 2013

Tooth Fairy Door

Post by Rachel:

So Sean will be 6 years old on June 23rd and he hasn't lost his first tooth yet. I am guessing it will happen soon even though he has no loose ones. I saw great ideas on Pinterest including a Tooth Fairy Door. Naturally I went ape shit about it and pinned about 50 examples. So with an idea in mind of what I want I have started.

Supplies (All purchased from Hobby Lobby)
Doll House Door: $8.99
Knob, Key plate & Key: $2.99
Hinges: $4.99 (I don't know if I will use these yet.)
Wood Plaque: $2.33
Sandpaper
Glue
Drill
Router
And a torch if things go poorly...

So here is what I started with.
You can buy fancy doors too, however I have a boy and I am sure he wouldn't like that. In the picture you can see that I already drilled a hole out where the keyhole will be. I used an 1/8 in drill bit because it is okay if it's slightly bigger than the key hole because the key plate will cover it. Also, I have no idea how I am going to keep track of these microscopic keys. Can you even see them in the picture?
Next up, the wood plaque!
I didn't take a picture prior to Dan cutting a hole in it... OOPS! Oh well. Anyway as you can see I left a little more room at the bottom of the plaque the reason for which I will show you later. 
So this is what the door looks like in the plaque. Unlike a lot of the pictures I saw on Pinterest I wanted my door to be functional. I don't know where or how I am going to hang this, but I wanted to be sure to not limit myself for later. Underneath the door is going to be a step, which is why I left the extra room. 
That's it for tonight. I will finish the post when I finish the project. Now I have to clean up before bed so there isn't any suspicious questions in the morning. 


Tuesday, April 24, 2012

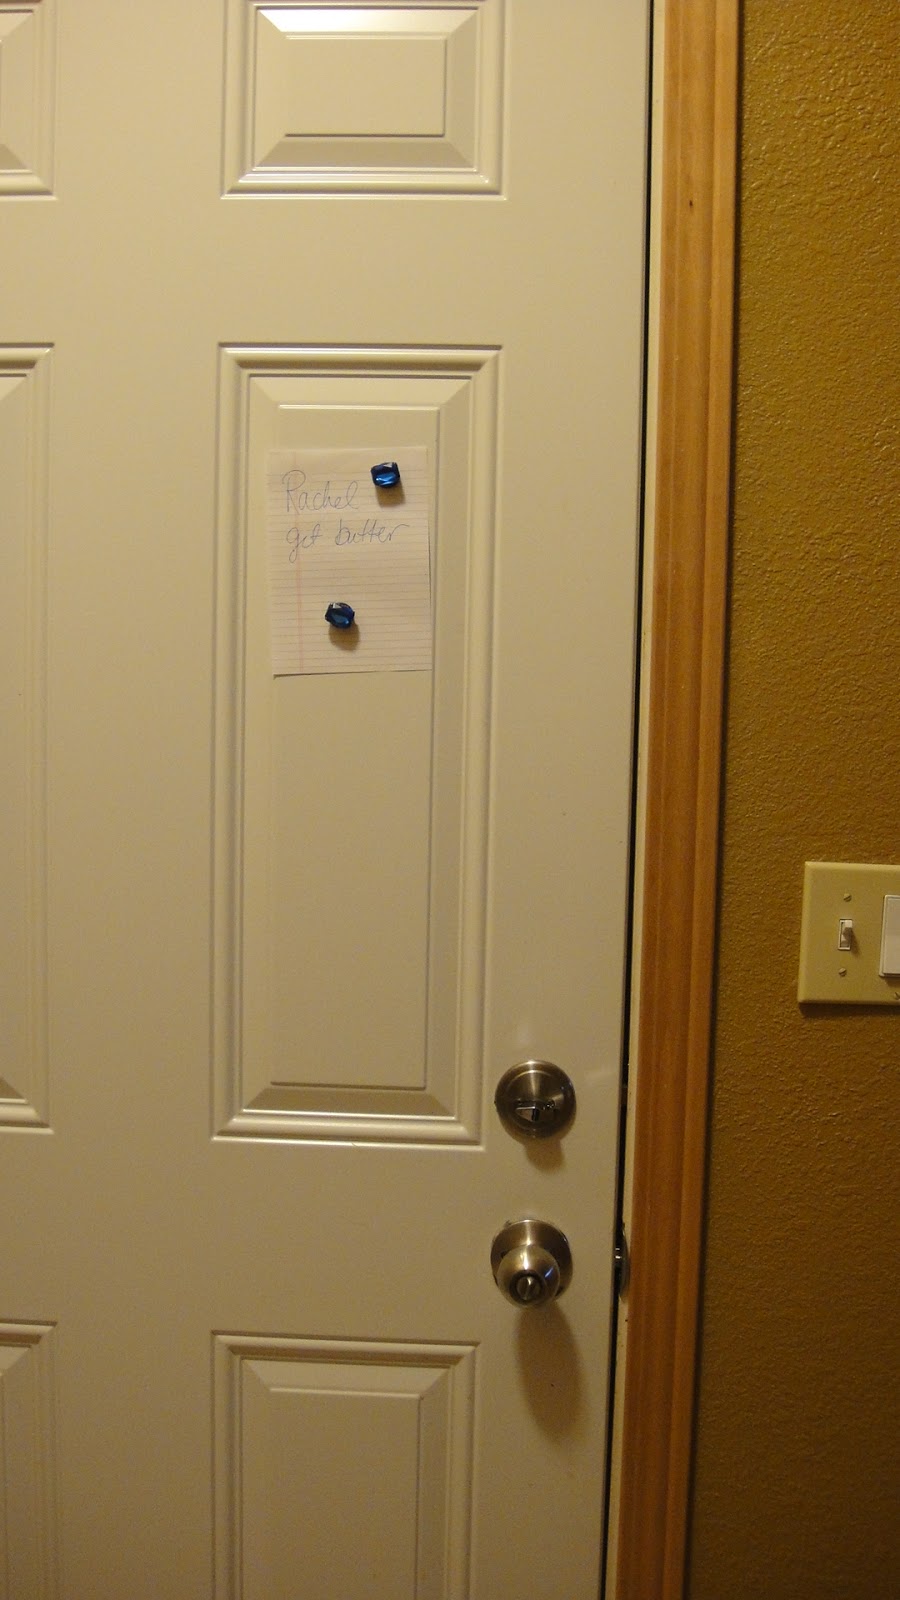
Magnets not just for the fridge!

Post by Rachel

So I had to remember something really important this morning and wrote myself a note last night to make sure of it. In my genious state I hung the note on the door to the garage with magnets!

Obviously I knew they would stick, but I never thought to put them there.

What was so important to not forget and make me think of this brilliant idea? I needed to bring butter in for a fish fry at work...

(My idea's are way better than Erin's.)

Tuesday, April 3, 2012

Coffee Table Tray

Posted By: Erin

I have been on the hunt for a tray of sorts to hold all the goodies that land on the coffee table in the living room. My first thought was a wood tray but I was having a very hard time finding one in a price range I was ok with. I came across this lovely metal tray on Craigslist for all of $5- my kind of deal!
I took it out and sanded it down because some of the oh so lovely flowers were raised paint.

P.S. This is where I start to lack pictures until the end... sorry!

Once I had sanded it down and cleaned it again I gave it a good coat of black spray paint and let it dry.

I found a template that I liked at my local craft store. I placed it down in the middle of the tray holding it in place and started brushing on the white paint. Heavy in spots and lighter in others. It was all a trial of what I was going to get. I let if dry with the template on it.

Once it was dry I pulled off the template and this is what I got!

For my first go around at metal trays I think I did a pretty darn good job! Now whats the chance I can do it again!?!?

Save Me!!

Posted By: Erin

I love when I make a good find! So the other day while at work I was out for a walk and came across this beauty! 

It was being discarded after a season of living outside and the green paint was starting to peel. So I brought it home peeled of all the paint that was chipping and bubbling and gave it a good coat of clear sealant. And now it has a whole new life with some added character!

Now I just need to figure out its new location!

Saturday, March 31, 2012

DIY Fridge Magnets

Posted by: Rachel

I am love home made stuff! I remember my mom and I doing this project when I was little and I have since done it with my son. I made these years ago but obviously need to make more.

Materials needed:
Hot Glue Gun (and extra sticks)
circle magnets
Anything you want on your fridge!

Simply glue your creative item onto 1 (or 2 depending on your item) magnet. I don't have pictures for the making but here are the final results!

These are my Great Grandmother's vintage earings. I removed the clip before I glued on the magnet. (I only used these because the matching earring was lost!)

These are coins from Costa Rica. I have more from all across the globe I will make into magnets!

These are a mixture of polished rocks, gems, fools gold, and sea shells!

Beer Caps! Promote your favorite brand or "recycle" or whatever... 

I love all my magnets and I can't wait to make more! The process takes slightly longer than warming up your glue gun.

Tuesday, March 27, 2012

The Blog Rules

Posted by: Rachel

So when looking at other blogs on the internet I have decided what I don't want ours to be. Because it is in all honesty must easier to decide what you don't want instead of making a decision on what you do. So here it is:

Erin and Rachel's Blog will only be about stuff we have seen, done or made ourselves. No professional photographs (we will see if we can get any better at taking pictures), nothing that we "want" to do - only things we have actually done. That way we can give you a fair and honest opinion from experience.

We don't want fakes, wishes,  or could-have's.

Thursday, March 15, 2012

Kids Growth Chart

Post by Rachel:
ohhh yet another thing from Pinterest.
So supplies needed are:

Precut & Sanded/Finished Wood from Home Depot - I used a 3/4" x 11 1/4" x 8' Pine cost was $14.99
Black Sharpie
Ruler (only if you want to be accurate)
Wood Stain & paint brush (if you want to be fancy!)

So because my handsom prince charming suffers from severe OCD I had to be meticulous in making this if I wanted it to be hung in my home.
Start with your board.
Say hello to my kitchen. Side note: if you do this with children in the room they may want to walk the plank. So I have high ceilings in my home but you may not want your board to be 8' tall. I liked the look so I didn't cut it. Also mine had to start on the floor so that my son could measure all his toys.
Step 1:
Measure all your intervals. I did mine by quarter foot and also did them on both sides so my lines would be even. You will see what I mean later.

I matched up each dot from the intervals and drew my lines that way. The line next to the number was 3", the 1/2 foot mark was 2" and the quarter marks for 1". Do it however you like.
So for the numbers I printed out HUGE typed font on the computer and cut them out and traced them... again because of Prince Charming's OCD. Freehand it if you like.
So I lost track of steps...
Step 4:
After doing everything in pencil (so you can erase mistakes) Sharpie it in! This was kinda boring.
Step 5:
Stain it! I have seen everything from wood stain to coffee. I used MinWax Wood Finish in Cherry 235 - $4.99 and I only did one coat.
Don't forget the edges!
Step 6:
Hang it however you choose to because I am still figuring that out. Here is my finished product leaning against the wall
It passed the OCD test in case you were wondering.